Product
Categories
- ATV (58)
- ATV Accessories (1181)
- ATV Air&Oil Filters (273)
- ATV Axles (757)
- ATV Ball Joint (33)
- ATV Battery Chargers (15)
- ATV Bearings (223)
- ATV Belt (3)
- ATV Body (581)
- ATV Brakes (322)
- ATV Bushing (2)
- ATV Bushings (221)
- ATV Cable (88)
- ATV Carburetor (221)
- ATV Cargo Bag/Luggage (203)
- ATV chain (91)
- ATV Clutch Accessories (1)
- ATV Communications/Mounts (81)
- ATV Covers (193)
- ATV drive belt (123)
- ATV Drive Clutch (616)
- ATV Engine (34)
- ATV Exhaust (127)
- ATV Fan (12)
- ATV Fender (64)
- ATV Foot Controls (30)
- ATV Fuel Pump (77)
- ATV Fuel Tank (5)
- ATV Fuel Tanks (3)
- ATV Gasket (16)
- ATV Gear box or reverse gear (16)
- ATV Graphics and Decals (2)
- ATV Handguard (2)
- ATV Handlebars (245)
- ATV Heaters (139)
- ATV Ignition Coil (109)
- ATV Lighting (153)
- ATV Mirrors (104)
- ATV Rectifier/Regulator (96)
- ATV seat belt (9)
- ATV Seats & Covers (139)
- ATV Solenoid (96)
- ATV Sparkplug (2)
- ATV Sprocket (9)
- ATV Starter (142)
- ATV steering wheel (9)
- ATV Suspension (710)
- ATV Switch (121)
- ATV Tach/Hour Meter (31)
- ATV Throttle Control (24)
- ATV Tie-Downs (23)
- ATV Tools (432)
- ATV Wheels and Tires and rim (102)
- ATV Winches & Mounts (192)
- ATV Windshields (27)
- Uncategorized (2)
Product tags
Universal Slim Fan Push Pull Electric Radiator Cooling 12V 80W Mount Kit (Black, 7″)
SPREAD THE LOVE
Description
7″ Universal Radiator Fan
Nubmer of Fan Blades: 10
7 Amp Draw
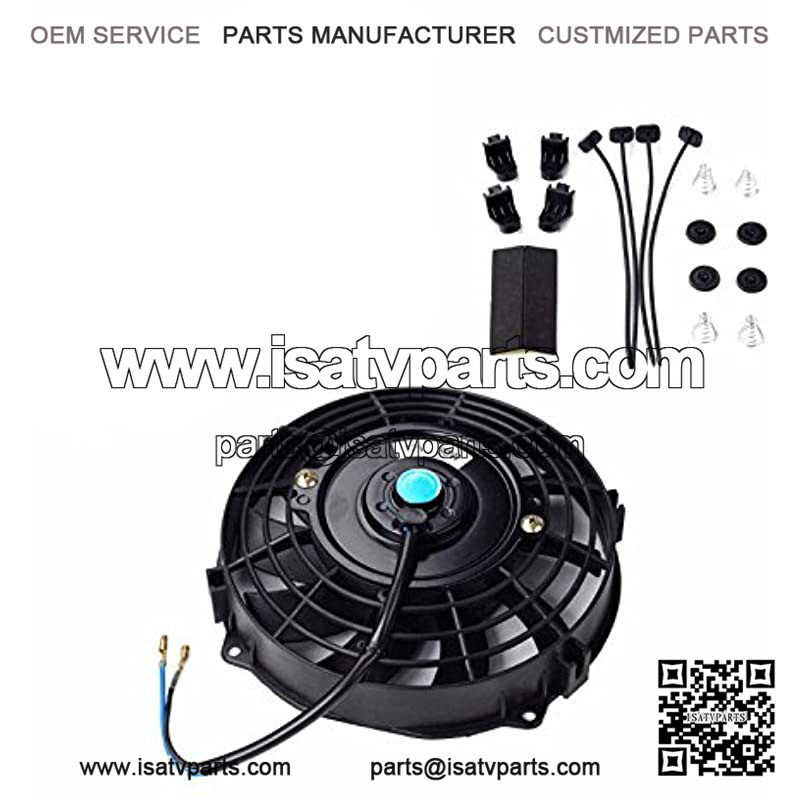
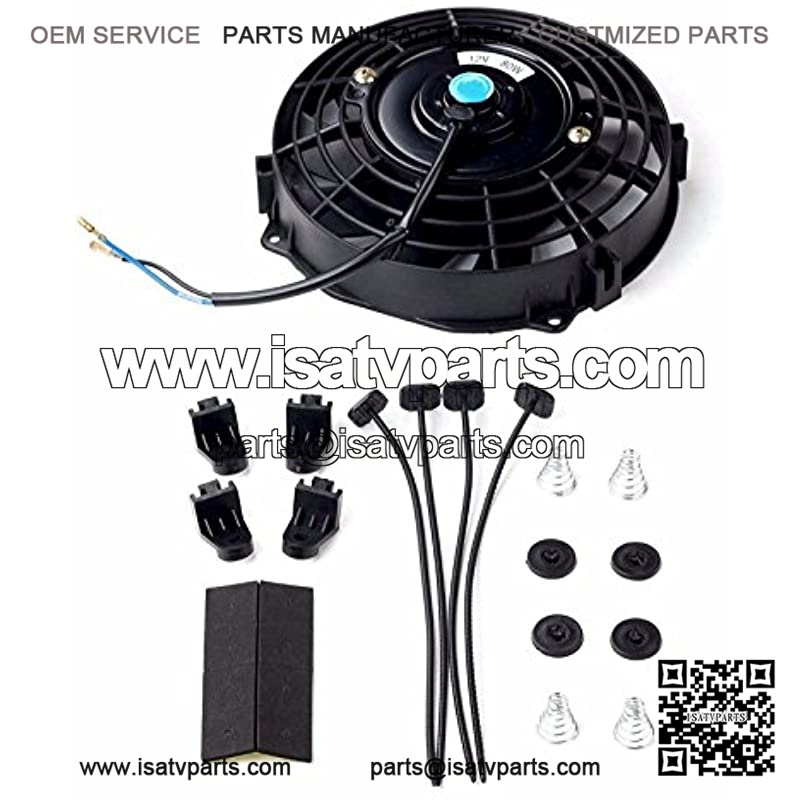
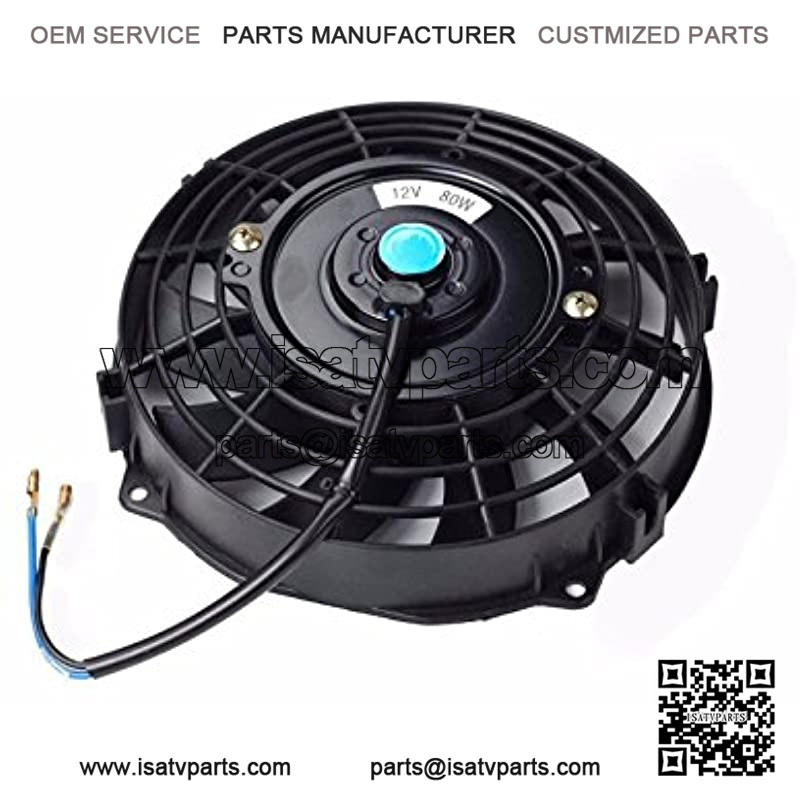
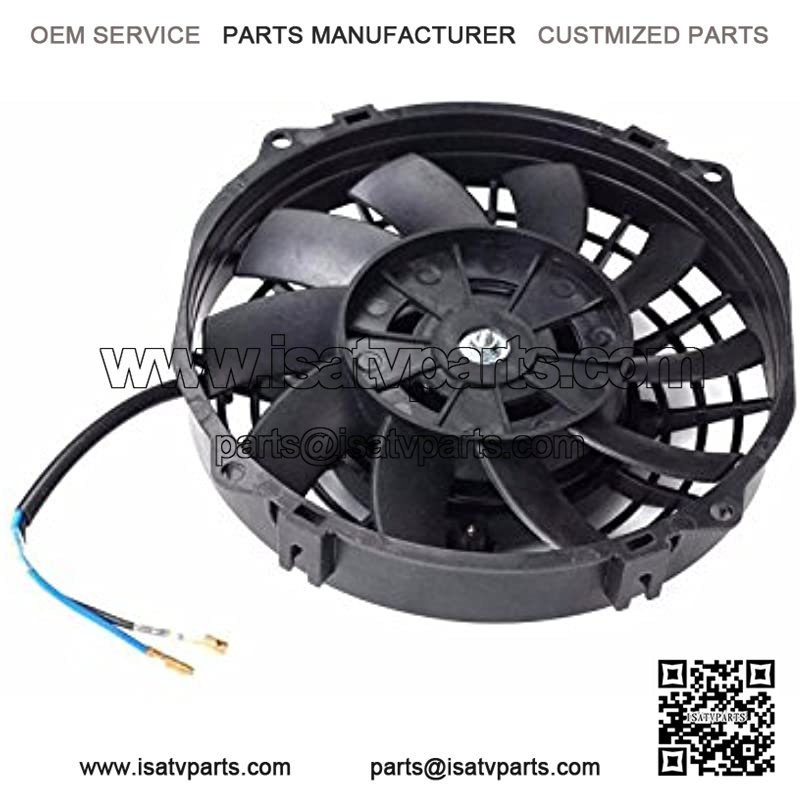
Maximum CFM= 800 CFM per fan; Maximum RPM=2200 RPM per fan.
Width: 8.25″; Height: 8″.
How to Choose a Electric Cooling Fans??
Consider How the Body Style of the Vehicle Affect Air Flow.
The Core Dimensions of the Radiator.
Amp Draw.
CFM (High Performance Or Mild).
Installation:
Step 1: Open the hood of the car and remove the intake pipe above the cooling fan, so that the cooling fan can be removed smoothly.
Step 2: The cooling fan and the air conditioning fan are located above the fan frame, with a total of four corners, one screw at each corner. Use a professional tool to unscrew the four screws. When the screws are all unscrewed, we can remove the cooling fan from the car.
Step 3: Install the new cooling fan correctly on the new fan frame, and tighten and secure the four screws at the four corners.
Step 4: Start the engine test and the fan can run normally. After checking the error, install the intake pipe to the correct position.
Step 5: Tighten the fixing screws of the intake pipe, close the hood, and test to ensure that the new radiator fan is working properly and all operations are completed.